
Explainer videos are a pretty powerful tool for content creators to convey and share their message with the target audience. With a unique combination of visuals, engaging animations, and informative content, these videos attract and engage the audience, making them learn things faster.
Surely, motion graphic services are essential in creating visually appealing explainer videos that engage internet users. Still, many creators overlook the lighting, even though it can significantly improve the overall effect and make the videos look more professional.
So, maybe you’re asking yourself now:
Why Is Lighting Important in Explainer Videos?
As many know, lighting is an essential part of video recording and production, and it can easily make or break your explainer video. When incorporating proper lighting, you can:
- Improve the visibility to ensure your audience sees every detail from your video, but also reduce glare and eliminate shadows.
- Setting mood and tone to convey both warmth and professionalism and align your message with the emotions you want to spread.
- Visual consistency and quality, so you can stay true to your initial idea and spread the message the exact way you want.
- Let the audience focus on the video, not on some shadows or distractions in the background.
So, these are pretty good reasons why lighting matters when creating explainer videos – since the video leaves a visual impression on the consumer.
Tips to Incorporate Lighting to Elevate Your Explainer Videos
Now that you know why it’s important to pay attention to the lighting, it’s time to share some practical tips to help you improve your videos. Let’s start with a simple one and list the other tips we have for you:
1. Choose the Location Wisely
The location makes a significant difference in your explainer videos. You can choose some corner where the natural light fills up the room or even create a controlled outdoor environment. As you grow, you can invest in studio lighting for your videos, but initially, you can use the advantage of natural lighting.
Pro Tip: Focus on a one-color background, and let the light create a consistent environment around you. Make sure you don’t showcase too many shadows, as they can be distracting for the audience.
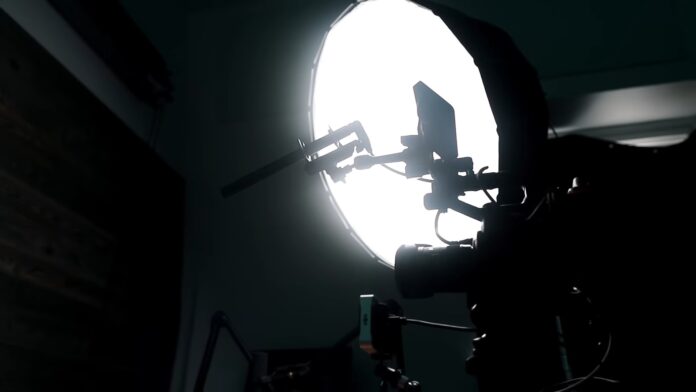
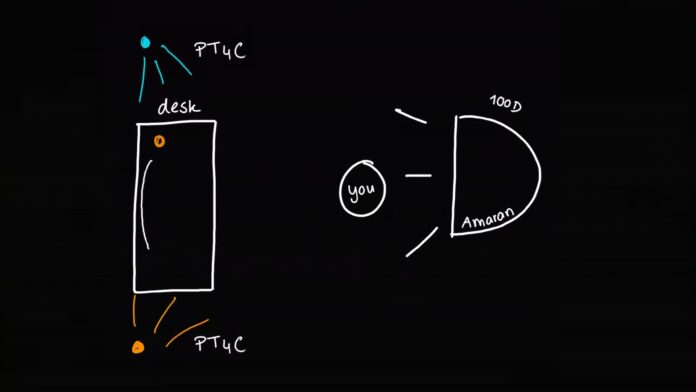
2. Choose the Right Lights
For a more professional and appealing scene, we suggest investing in key lights, fill lights and backlights. The key light is a source of the primary illumination, while the fill lights soften the shadows in the background. The backlight will help you stand out from the background, making the scene deeper.
This method is known as three-point lighting, which means you need to illuminate yourself from three points to create a balanced video. So, learn more about the key lights, fill lights, and backlights, and make sure you use them properly when creating your great videos.
3. Experiment With Different Lighting Angles

In the beginning, you may not have enough resources to invest in professional video recording equipment. So, if you don’t have the three-point light resources available right now, try experimenting with different angles, combining the daylight and additional illumination.
Sometimes, different angles add different effects to your video. You can indeed get really creative and change the lighting side to add dramatic effect or even use direct lighting to make you more appealing on the video.
Additionally, you can use reflectors and diffusers to control the light over you or the subject you present in the video, avoiding visible shadows. Diffusers surely help you soften the intense reflector lighting to make the video appear more organic and appealing.
4. Balance Color Temperature
Yes, different light sources also provide various temperatures, so you need to ensure all the lights are consistent when it comes to color temperature. If you don’t pay attention to this element, your explainer videos may look imbalanced and shady.
When balancing the lights, make sure you choose light colors with similar temperatures. As a result, you get a professional video, even when you don’t have a full video recording and stage lighting equipment.
5. Pay Attention to What’s Happening in the Background
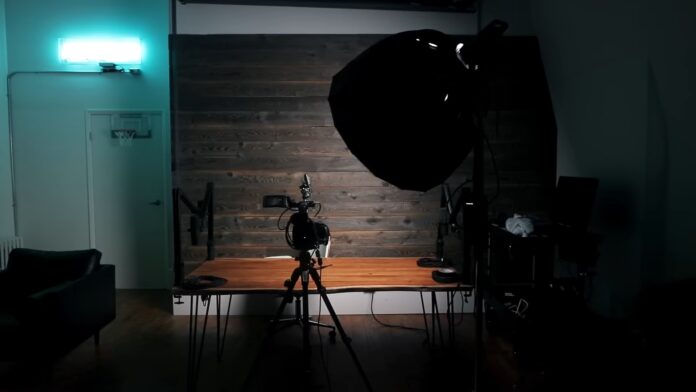
Too bright a background can ruin the whole recording experience. Creating a strong contrast seems like a good idea initially, but it distracts the camera focus but also the viewers.
Make sure you have a darker background to create a contrast, to make sure you or your subject is perfectly visible on the screen.
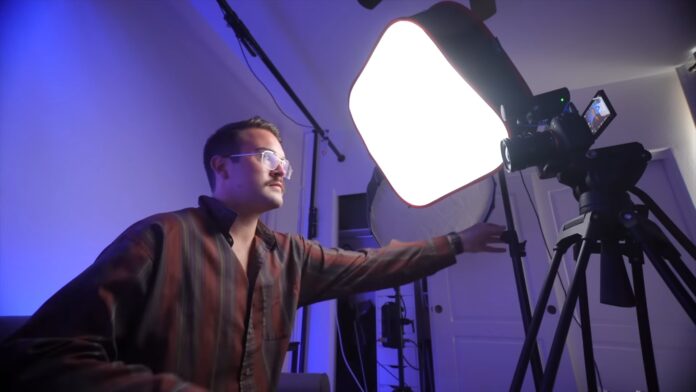
6. Use Color and Different Intensities to Enhance the Mood
Do you know what is better than the boring white light? Colorful lighting evokes different emotions and makes the video pretty appealing, especially when the colors match the idea behind the explanation.
For example, if you record an explainer video but need a cozy atmosphere, use warm colors. On the other hand, for a more professional and corporate feeling, cool colors can have the best effect.
We suggest using soft lighting, as hard lights create so many shadows and make the subject look too unflattering. At this point, we want to note that overhead lighting is not always the best choice, as it causes face shadows or hides some details on the subject. Multiple light sources create a more natural look, enhancing the three-dimensional appearance.
When combined with proper colors, your video ends up appealing and effective at the communication you want to maintain. Finally, make sure you invest in lights with controllers so you can adjust the intensity of your illumination. Thanks to that, you can set a mood and focus on the specific elements you want to highlight in your explainer video.
Conclusion
We hope that the tips we have shared will be useful to you and you will learn to take your video production to a higher level. Of course, you can always rely on daylight and create great videos, but still, it’s good to know how to turn artificial light to your advantage.
And, of course, we expect your explainer videos and your talent to record and edit excellent online content that is both interesting and useful for the audience.
")

