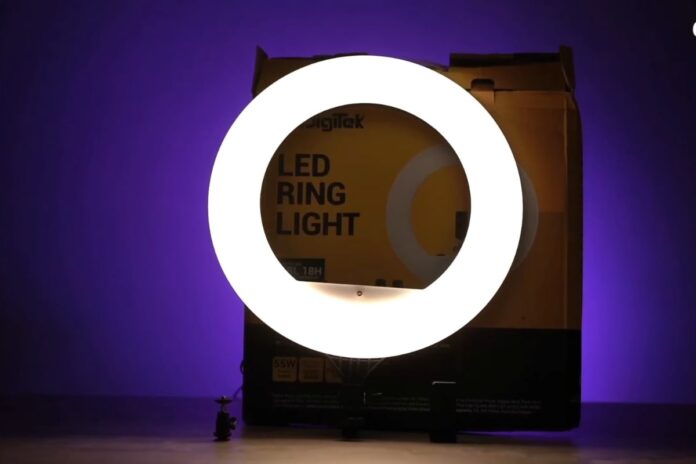
Lights, camera, action! But what if your ring light isn’t cooperating with the rest of your setup? Whether you’re a content creator, a professional photographer, or simply someone who relies on good lighting to ace that perfect selfie, a ring light is an indispensable tool in your arsenal.
However, it can be incredibly frustrating when it decides to play the diva and won’t turn on. In this guide, I’ll walk you through a series of solutions to help troubleshoot and, hopefully, fix your ring light that’s refusing to cooperate.
This blog is for everyone, whether you’re a techie or someone who’s never touched a screwdriver in your life. So, strap in, and let’s get that light shining bright like a diamond!
Ring Lights Basics
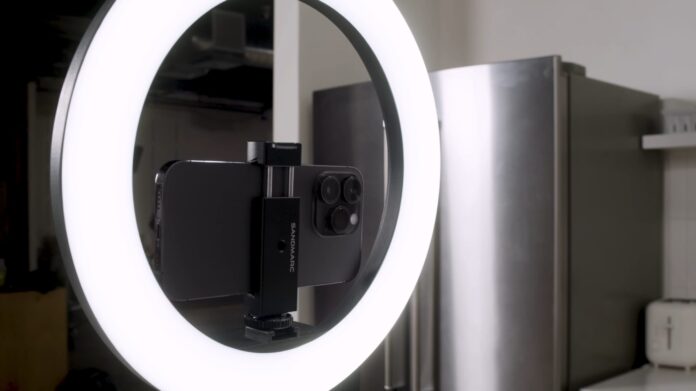
Before diving into the nitty-gritty of fixing your ring light, let’s understand what a ring light actually is. A ring light is a circular light fixture that emits soft, even light from all directions.
Because of its unique shape, it minimizes shadows and highlights the subject’s face, making it particularly popular in photography and videography.
Why Does It Fail?
As with any electrical device, ring lights can also malfunction for a variety of reasons—be it faulty wiring, bulb failure, or power source issues. These issues might be internal or external, and figuring out which it is can be half the battle.
Types of Ring Lights
Knowing the type of ring light you have can help you troubleshoot more effectively. Ring lights generally fall under two categories: traditional bulb-based and LED.
Traditional ring lights often have replaceable bulbs, whereas LED ring lights are known for their durability and energy efficiency but can be harder to repair if an LED fails.
Troubleshooting 101: The Initial Checks
Rule Out the Obvious
We often overlook the most straightforward solutions when faced with a problem. Here are a few quick checks you can perform before diving deeper into troubleshooting:
- Ensure the power outlet is working by plugging in another device.
- Check if the power cable and adapter are in good condition.
- Make sure you’ve switched the ring light on (Yes, it can be that simple).
Inspect the Manual
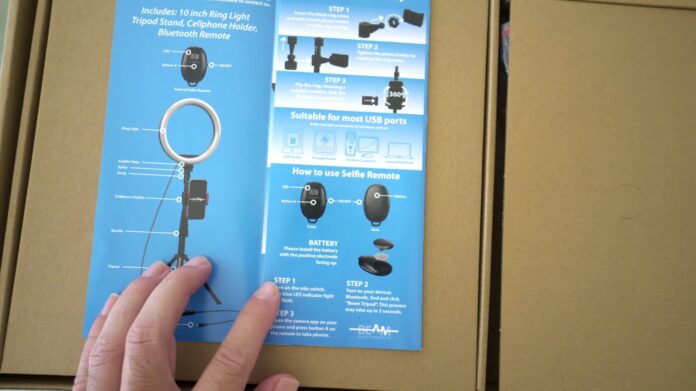
Your ring light should come with a user manual that includes a troubleshooting section. This could offer specific insights tailored to your model, so it’s worth giving it a glance before you proceed.
Gather Your Tools
For the steps that follow, you’ll need a few essential tools:
- Screwdrivers (both flat-head and Phillips)
- Multimeter
- Replacement bulbs or LEDs (as needed)
- Electrical tape
- Wire strippers
Possible Issues and How to Fix Them
Power Source Problems
Unresponsive Power Outlet
- Switch Outlets: If the outlet is not working, try plugging the ring light into a different one.
- Check Circuit Breakers: Ensure the circuit breakers are in the ‘ON’ position in your electrical panel. If you find a tripped breaker, flip it back to the ‘ON’ position and try again.
Faulty Adapter or Power Cable
- Visual Inspection: Check for any obvious signs of wear and tear, like exposed wires or bent prongs.
- Multimeter Check: Use a multimeter to test the continuity of the power cable. If the multimeter doesn’t register any reading, you’ll need to replace the cable.
LED or Bulb Failure
Identifying the Problem
- Visual Inspection: Examine the LED or bulb for any signs of damage, like cracks or burn marks.
- Swap Test: If you have an identical, working ring light, try swapping the bulbs or LEDs to see if the issue persists.
Replacing the Bulb or LED
- Safety First: Always unplug the ring light before you start any repairs.
- Replace: Follow the manufacturer’s instructions to replace the faulty bulb or LED. LED replacements are often more complicated and may require soldering.
Wiring Woes
Loose Connections
- Open It Up: Unplug the ring light and open up the casing using a screwdriver.
- Check for Loose Wires: Visually inspect for any disconnected or loose wires.
- Secure Connections: Tighten any loose connections with a screwdriver and secure them with electrical tape.
Frayed or Damaged Wires
- Spotting the Issue: Look for wires that are frayed or have exposed metal.
- Fixing It: Use wire strippers to remove the damaged insulation, twist the exposed wires together, and seal them with electrical tape.
Circuit Board Concerns
Visual Inspection
- Look for any signs of burns or damaged components on the circuit board.
When to Seek Professional Help
- If you identify a burnt or damaged component, fixing the circuit board can be complex and may require specialized knowledge.
When to Seek Professional Help
Identifying the Signs
If you’ve tried all of the above steps and your ring light still isn’t working, it’s probably time to consult a professional.
This is especially true if you’ve spotted complicated issues like a damaged circuit board or burnt components.
Warranty and Repairs
Check if your ring light is still under warranty. If so, reach out to the manufacturer for a repair or replacement.
Finding a Reputable Repair Service
- Look for certified professionals.
- Read reviews and ask for recommendations.
- Compare prices and services to find the best fit for you.
Preventive Maintenance: Ensuring Longevity
Why Prevention is Better than Cure
Even after you’ve managed to fix your ring light, or maybe especially so, the adage “prevention is better than cure” holds weight.
Ensuring proper care of your ring light can make all the difference between a short-lived gadget and a lasting tool.
Cleaning and Storage
- Dusting: Use a soft, lint-free cloth to wipe off any dust accumulation.
- Storage: Store your ring light in a cool, dry place. If possible, use the original packaging to minimize the risk of damage.
- Cable Care: Avoid tugging or winding the cable tightly to reduce wear and tear.
Regular Checks
Make it a habit to conduct periodic checks on your ring light. Look for any signs of wear, such as fraying cables or fading LEDs. Addressing these early on can save you from bigger issues down the line.
Advanced Troubleshooting: For the Tech-Savvy
Delving into the Technicals
For those who have a knack for technology and are comfortable dealing with intricate parts, this section is for you.
Advanced troubleshooting techniques may help you resolve issues that are not covered in basic troubleshooting steps.
Firmware Issues
Some modern ring lights come with firmware that controls various functionalities. If your ring light isn’t turning on, a firmware glitch could be the culprit.
- Consult the Manual: The user manual often provides a guide on how to update or reinstall the firmware.
- Visit the Manufacturer’s Website: You can usually find firmware updates and installation guides online.
Diagnosing with Multimeter (Beyond Continuity)
- Voltage Checks: You can use a multimeter to check the voltage at various points in the circuit to identify the problem area.
- Current Fluctuations: An abnormal current reading may indicate a faulty component that needs replacement.
Common Mistakes to Avoid: Lessons from the Trenches
Going in Blind
One common mistake people make is diving into repairs without reading their ring light’s manual or any other guides. This can result in unnecessary damage.
Ignoring Safety Precautions
- Always unplug your ring light before beginning any repairs.
- If you smell something burning or see smoke, unplug immediately and consult a professional.
Overcomplicating the Solution
Before you open up the device, make sure you’ve ruled out simpler issues like faulty power outlets or switches.
When All Else Fails: Salvaging Components
The Final Resort
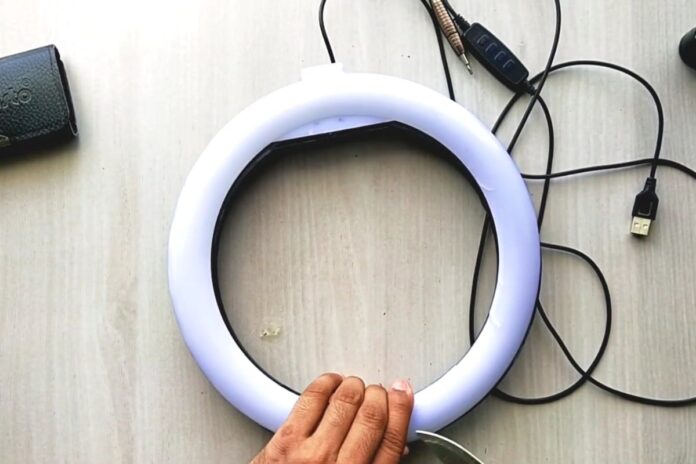
If you’ve tried all avenues and have consulted professionals without luck, it may be time to accept that your ring light has reached the end of its life. But all is not lost; you can still salvage useful components.
What Can Be Saved?
- Bulbs or LEDs: If these are still functional, they can be used in another compatible device.
- Power Cable and Adapter: These can often be used for other gadgets with similar specifications.
- Small Electronic Components: Tech-savvy individuals may find uses for resistors, capacitors, and other minor parts.
Recycling and E-Waste
If you’ve chosen to replace your ring light, consider recycling the old one. Many components like metals and plastics can be recycled, reducing e-waste.
Final Thoughts
From initial checks to advanced troubleshooting and even to the unfortunate moment of accepting your gadget’s mortality, every phase is an opportunity for learning and growth.
Keep this guide bookmarked, and share it with those who might find it useful. After all, knowledge is a light that should never go out.
Last Minute Tips
- Documentation: Keep all manuals, warranty cards, and repair history for future reference.
- Community Support: Online forums and social media groups can be valuable platforms for sharing tips and solutions.
- Stay Updated: Manufacturers often release updates and recall information, so staying in the loop can be beneficial.
Whether you managed to fix your ring light or learned what to avoid in the future, you’ve made progress.

