
Green screens are used in various industries today including photography, journalism, film, animation and more.
What Is a Green Screen?
A green screen is used to place one image or video behind another image or video. This can be done for several reasons including “green screening” images into a new background that wasn’t actually shot there.
Green screens are also advantageous because they allow you to replace the background of an image with whatever you’d like – whether it’s another real life location, weather footage or even CGI elements.
Lighting a green screen properly is extremely important for having a successful chroma key shoot because if your lighting isn’t proper then your subject will have unclear edges and look unnatural when placed behind the new background image/video.
If this happens then your client may not be pleased with the final product. Below are several tips for how to properly light a green screen so that your subject’s edges will be crisp and clear when they are placed against the new background image/video.
While it is possible to use any lighting set up you’d like when shooting on a green screen, it’s recommended that you use one of three main arrangements depending on your budget and availability of equipment.
Green screen on a budget
If you’re working on a tight budget then you can always purchase chroma key screens that come with their own lights. This option may not be the best though because if your green screen is not lit evenly then it won’t look professional – which defeats the purpose of purchasing one in the first place!
Furthermore, these screens can be expensive for the small amount of footage you may get out of them. If you don’t have much money to spend but want to shoot with a green screen then purchasing just the green fabric and building your own light rig might be an option.
You’ll probably need at least three lights in order for this set up to work – two backlights and one key light in front of your subject. This is certainly not an ideal way to go, because these lights will produce heat which could potentially damage or fade your green screen fabric!
The other issue with lighting like this is that without properly set up diffusion gels (which act like colored sunglasses) on your backlights, your subject’s edges will not look very smooth when placed over another background image/video.
Positon
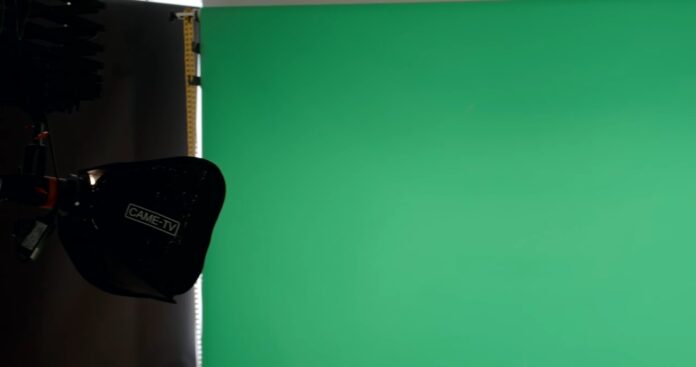
Proper lighting starts with making good use of the space you’ve got. Your green screen shouldn’t be too close to the wall, and the actor shouldn’t be directly in front of the wall (which can cause shadows).
As a rule of thumb, the distance between your green screen and the wall should be twice as far as the height of your green screen. If you have a large green screen then getting even lighting throughout it will be easier because you’ll have more space to work with.
Lighting
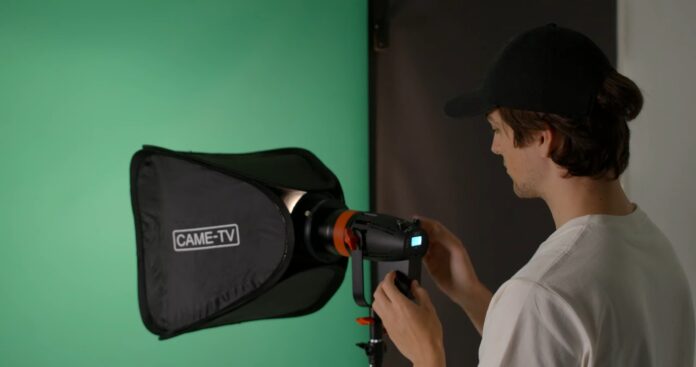
When lighting talent, especially when they’re standing in front of a giant sheet of green fabric, two main things need to be kept in mind: 3-Dimensional Look & Natural Feel. The 3-Dimensional look is important for giving your subject depth while being placed over another background video or image.
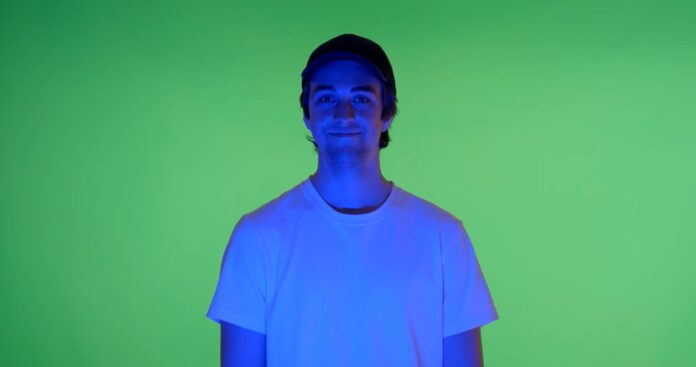
The most common method used for getting a 3-Dimensional look is by creating rim lights on your subject. Rim lighting refers to placing backlights around the edges of your subject so they’ll have a more defined outline when placed over another background.
Through using this technique you can easily get a natural feel because it’s similar to how we actually see things in real life – through our rim lights. We also notice that our eyes adjust to darkness much faster than they do to lightness, and this goes for green screens as well!
This means that if your subject is placed over a darker background then there will be less difference between them and such a background than if they were placed on a brighter background, making the edges of your subject look crisper.
Light placement in other cases
Making sure that your key light comes from the front and slightly to the side is a good place to start, however make sure you experiment with your lights until you get a feel for what works best.
If you’re having trouble getting a 3-Dimensional look then try angling/rotating one of your backlights toward your subject instead of keeping it straight behind them. Also, if you want more intense rim lighting then move your subject toward either side of the green screen.
Color Temp
In terms of color temperature, typically going with a cooler white balance will work better than going warmer because warmer whites have less contrast which could cause weird looking shadows around your talent’s edges when placed over another background image/video.
If you can’t afford to purchase a color temperature meter then you could always go with 5600k (a point on the blue/yellow spectrum where there is no red) which is standard.
Softness
When it comes to softness, typically placing your lights closer will make them look softer and more even than if they were placed far away.
You don’t want your backlights too soft or else they won’t cast enough light, but that doesn’t mean you want them too hard either because this will result in harsh lines around your subject’s edges when placed over another background.
FAQ
1. What types of lighting equipment are needed for green screen shoots?
The specific types of lighting equipment needed for green screen shoots may vary based on the budget and availability of equipment. However, some common options include LED lights, fluorescent lights, and incandescent lights. It’s recommended to have at least three lights: two backlights and one key light in front of your subject.
2. What is the ideal distance between the green screen and the wall?
As a general rule of thumb, the distance between your green screen and the wall should be twice as far as the height of your green screen. This helps to ensure even lighting throughout the screen and prevents shadows.
3. Why is it important to create rim lights on the subject during green screen shoots?
Creating rim lights on the subject is important for giving them a 3-dimensional look and a more defined outline when placed over another background. This is typically achieved by placing backlights around the edges of the subject.
4. How does color temperature affect green screen lighting?
Color temperature can affect the quality of green screen lighting, as warmer whites have less contrast which could cause weird-looking shadows around the subject’s edges when placed over another background. It’s recommended to go with a cooler white balance, such as 5600k, which is standard.
5. How can softness be achieved in green screen lighting?
Softness can be achieved by placing lights closer to the subject, which makes them look softer and more even. However, backlights shouldn’t be too soft or else they won’t cast enough light. Finding the right balance is key to achieving softness without harsh lines around the subject’s edges when placed over another background.
6. What are some common mistakes to avoid when lighting a green screen?
Some common mistakes to avoid when lighting a green screen include uneven lighting, too much or too little backlighting, and incorrect color temperature. It’s important to experiment with different lighting setups and techniques to find what works best for your specific shoot.
Conclusion
So, after all this information you might be thinking… “Ok, so what lighting setup should I use?” Well, that’s up to you!
The possibilities are endless when it comes to cinematography and you need to do what best fits your budget and production value. Just try out different options, keep these tips in mind, and maybe shoot some tests before the actual recording takes place. Good luck on your next shoot!
")

