Welcome to our comprehensive guide on how to reset an LED light remote. With the rise of smart technology, LED lights have become an integral part of our lives, whether it’s enhancing the aesthetic appeal of our homes or offices or providing mood lighting for different occasions.
However, like any other gadget, the LED light remote can sometimes malfunction, leaving you in the dark—both literally and figuratively. Fear not, for this article promises to shed some light on how to troubleshoot and reset your LED light remote.
Common Issues with LED Light Remotes
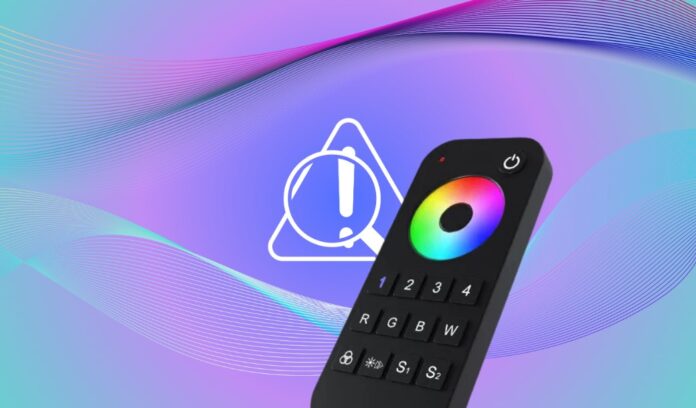
It’s important to identify the issue you’re experiencing before you can correct it. Common problems with LED light remotes often stem from a lack of response from the LED lights, inconsistent performance, or a complete inability to control the lights. These issues can occur due to various reasons, including low batteries, synchronization errors, or outdated firmware.
Understanding these issues is crucial in troubleshooting them effectively. The problem may be as simple as replacing the remote’s batteries or as complex as needing to update the remote’s firmware.
While troubleshooting your LED light remote, you might wonder about the safety of leaving lights on for an extended period. For more information on this topic, check out our comprehensive guide on the usage of energy-efficient illumination throughout the night.
Checking the Batteries
First things first, the most common issue with LED light remotes is depleted batteries. So, before you venture into complex troubleshooting, it’s worthwhile to check the batteries. Remove the back cover of your remote and inspect the batteries. Look for any signs of leakage or corrosion which could interfere with the power supply.
Next, try replacing the batteries with new ones. Ensure the batteries are positioned correctly, with positive and negative ends aligned as indicated. After you’ve replaced the batteries, try operating the LED lights. If they respond, you’ve successfully fixed the problem. If not, it’s time to move to the next step.
It’s worth noting that using good-quality batteries extends the life of your remote. Some batteries can cause damage to the device or don’t provide the optimum voltage for its functioning. Always buy batteries from reliable brands to ensure the best performance and longevity of your LED light remote.
Power Cycling
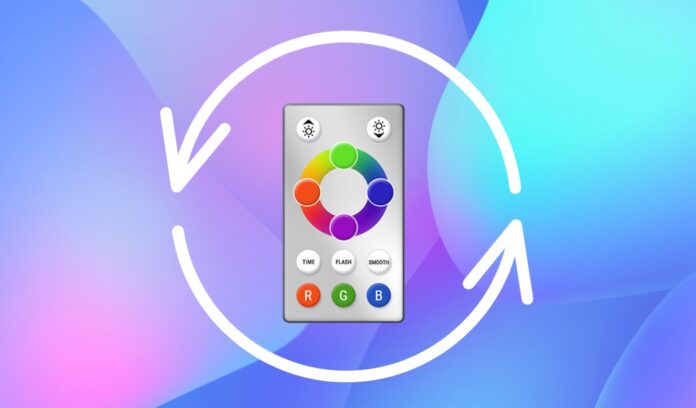
If your LED light remote is not functioning even after battery replacement, power cycling might help. Power cycling involves turning off and unplugging your LED lights, waiting for a few minutes, and then plugging them back in. This process can help clear any minor glitches or errors in the system.
First, switch off your lights using the main power switch. Next, unplug the lights from the power outlet and wait for about five minutes. After this duration, plug the lights back into the power source and switch them on. Now, try using your remote to control the LED lights.
Power cycling is a simple yet effective solution to many tech-related issues. It helps the system reset and start fresh, eliminating any temporary glitches. However, if your LED light remote is still unresponsive, a factory reset may be necessary.
Factory Reset
Performing a factory reset can often resolve more significant issues with your LED light remote. This method should only be attempted after you’ve tried checking the batteries and power cycling. A factory reset restores the device to its original settings, clearing any errors or custom configurations that may have caused the problem.
To perform a factory reset, you’ll typically need to press and hold a specific button or combination of buttons on your remote. The exact method varies from one model to another, so refer to your user manual for precise instructions. After the reset, your remote should be restored to its default settings.
However, remember that a factory reset will erase any custom settings you had on your LED lights, and you’ll need to reconfigure them afterward. If you’re still encountering problems after a factory reset, it might be time to sync the remote.
Syncing the Remote with the LED Lights
Sometimes, the issue might not be with the remote itself but with the connection between the remote and the LED lights. To fix this, you can try syncing the remote with your LED lights. Again, the exact procedure might vary depending on the model, so consult your user manual for accurate instructions.
Generally, syncing involves holding a button on the remote while turning on the LED lights. You might see a certain response, like a specific color or a flash, indicating that the syncing process has been successful. If the lights respond to the remote after syncing, you’ve resolved the issue. If not, outdated firmware might be the culprit.
Updating Firmware

Just like your computer or smartphone, your light remote and lights might need occasional updates to their firmware to function optimally. Firmware updates often fix known issues, add new features, and improve the overall performance of the device. However, this is a slightly advanced step and should only be taken if all other troubleshooting methods have failed.
Most smart LED lights allow firmware updates over a WiFi network. You would need to connect your LED lights to the same network as your smartphone or computer and use a dedicated app or website to update the firmware. Be sure to follow the manufacturer’s instructions precisely to avoid causing any further issues.
After updating the firmware, your remote should be able to control the LED lights as intended. If you’re still facing issues, don’t worry. You still have a couple of options to try.
Using the User Manual
Every LED light set comes with a user manual that contains vital information about the product. It provides detailed instructions on operating the lights, troubleshooting common issues, and maintaining the device. If you’re still having trouble with your LED light remote, referring back to the user manual might provide the solution.
The manual can offer guidance on steps you may have overlooked or weren’t aware of. It might also provide specific instructions based on the model of your LED lights. Remember, every model is different, and what works for one might not work for another. The user manual is an invaluable resource in such situations.
If you’ve misplaced the physical copy of the user manual, you can often find a digital version online on the manufacturer’s website. However, if you’ve tried everything and your LED light remote is still not working, it might be time to contact customer support.
Contacting Customer Support

If you’ve gone through all the troubleshooting steps and your LED light remote is still not working, don’t fret. The next step is to contact the customer support of the product’s manufacturer. They have trained professionals who can guide you through additional troubleshooting steps or provide other solutions.
When contacting customer support, make sure you have all the necessary information ready. This includes the model number of your LED lights, the details of the issue you’re facing, and the troubleshooting steps you’ve already attempted. This information will help the support representative understand your problem better and provide a quicker resolution.
Customer support might offer to repair or replace your LED light remote if they determine it’s defective. Remember, seeking professional help is always a good idea when dealing with complex technical issues.
Tips for Maintaining a Healthy LED Light Remote
- Maintaining your LED light remote properly can help prevent many common issues. One essential tip is to replace the batteries regularly, even before they are completely drained. This can prevent damage caused by battery leakage or corrosion.
- It’s also crucial to keep the remote clean. Dirt or dust can interfere with the button functions, causing them to become unresponsive. Cleaning your remote with a dry cloth can keep it functioning optimally. Avoid spilling any liquids on the remote, as this can cause permanent damage.
- Finally, handle your remote with care. Dropping the remote or exposing it to extreme temperatures can cause internal damage. Store the remote in a safe and dry place when it’s not in use.
Take a look at the video below, which provides a comprehensive guide on effortlessly restoring any LED light remote back to its original settings, ensuring seamless control over your colorful lighting:
Final Words
Troubleshooting your LED light remote might seem daunting, but with a systematic approach, it’s quite manageable. This comprehensive guide has equipped you with all the knowledge you need to identify and fix common issues with your LED light remote.
Remember, understanding the problem is the first step toward fixing it. Always start with the simplest solutions, like checking the batteries, before moving on to more complex troubleshooting steps. However, if all else fails, don’t hesitate to seek professional help.
We hope this article has been enlightening and that your path toward a smoothly functioning LED light remote is now illuminated. Good luck!

